
Making Cyanotype Prints
サイアノタイプ (青写真・日光写真)
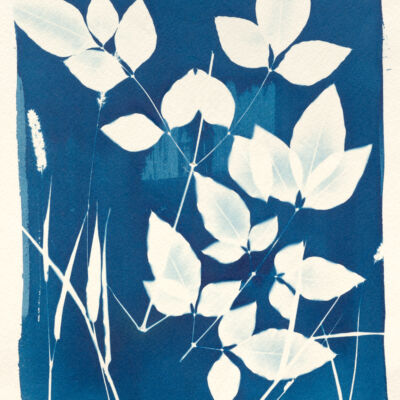
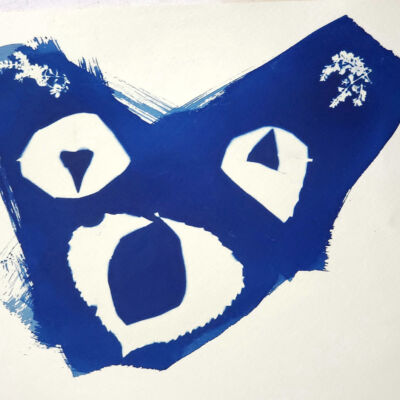
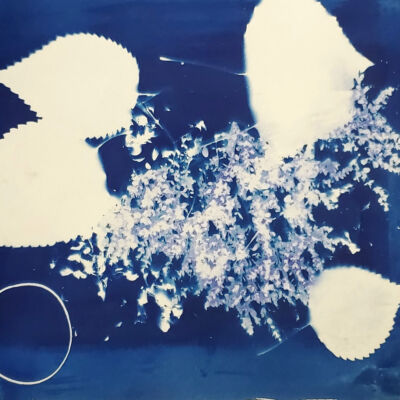
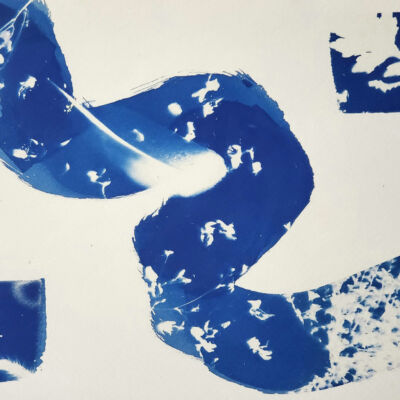
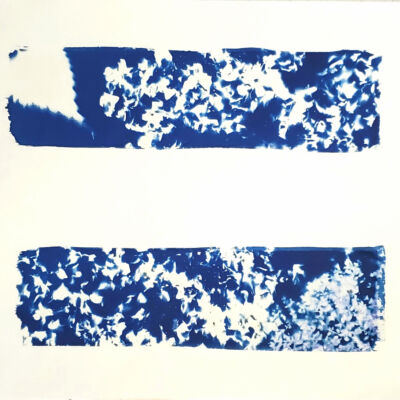
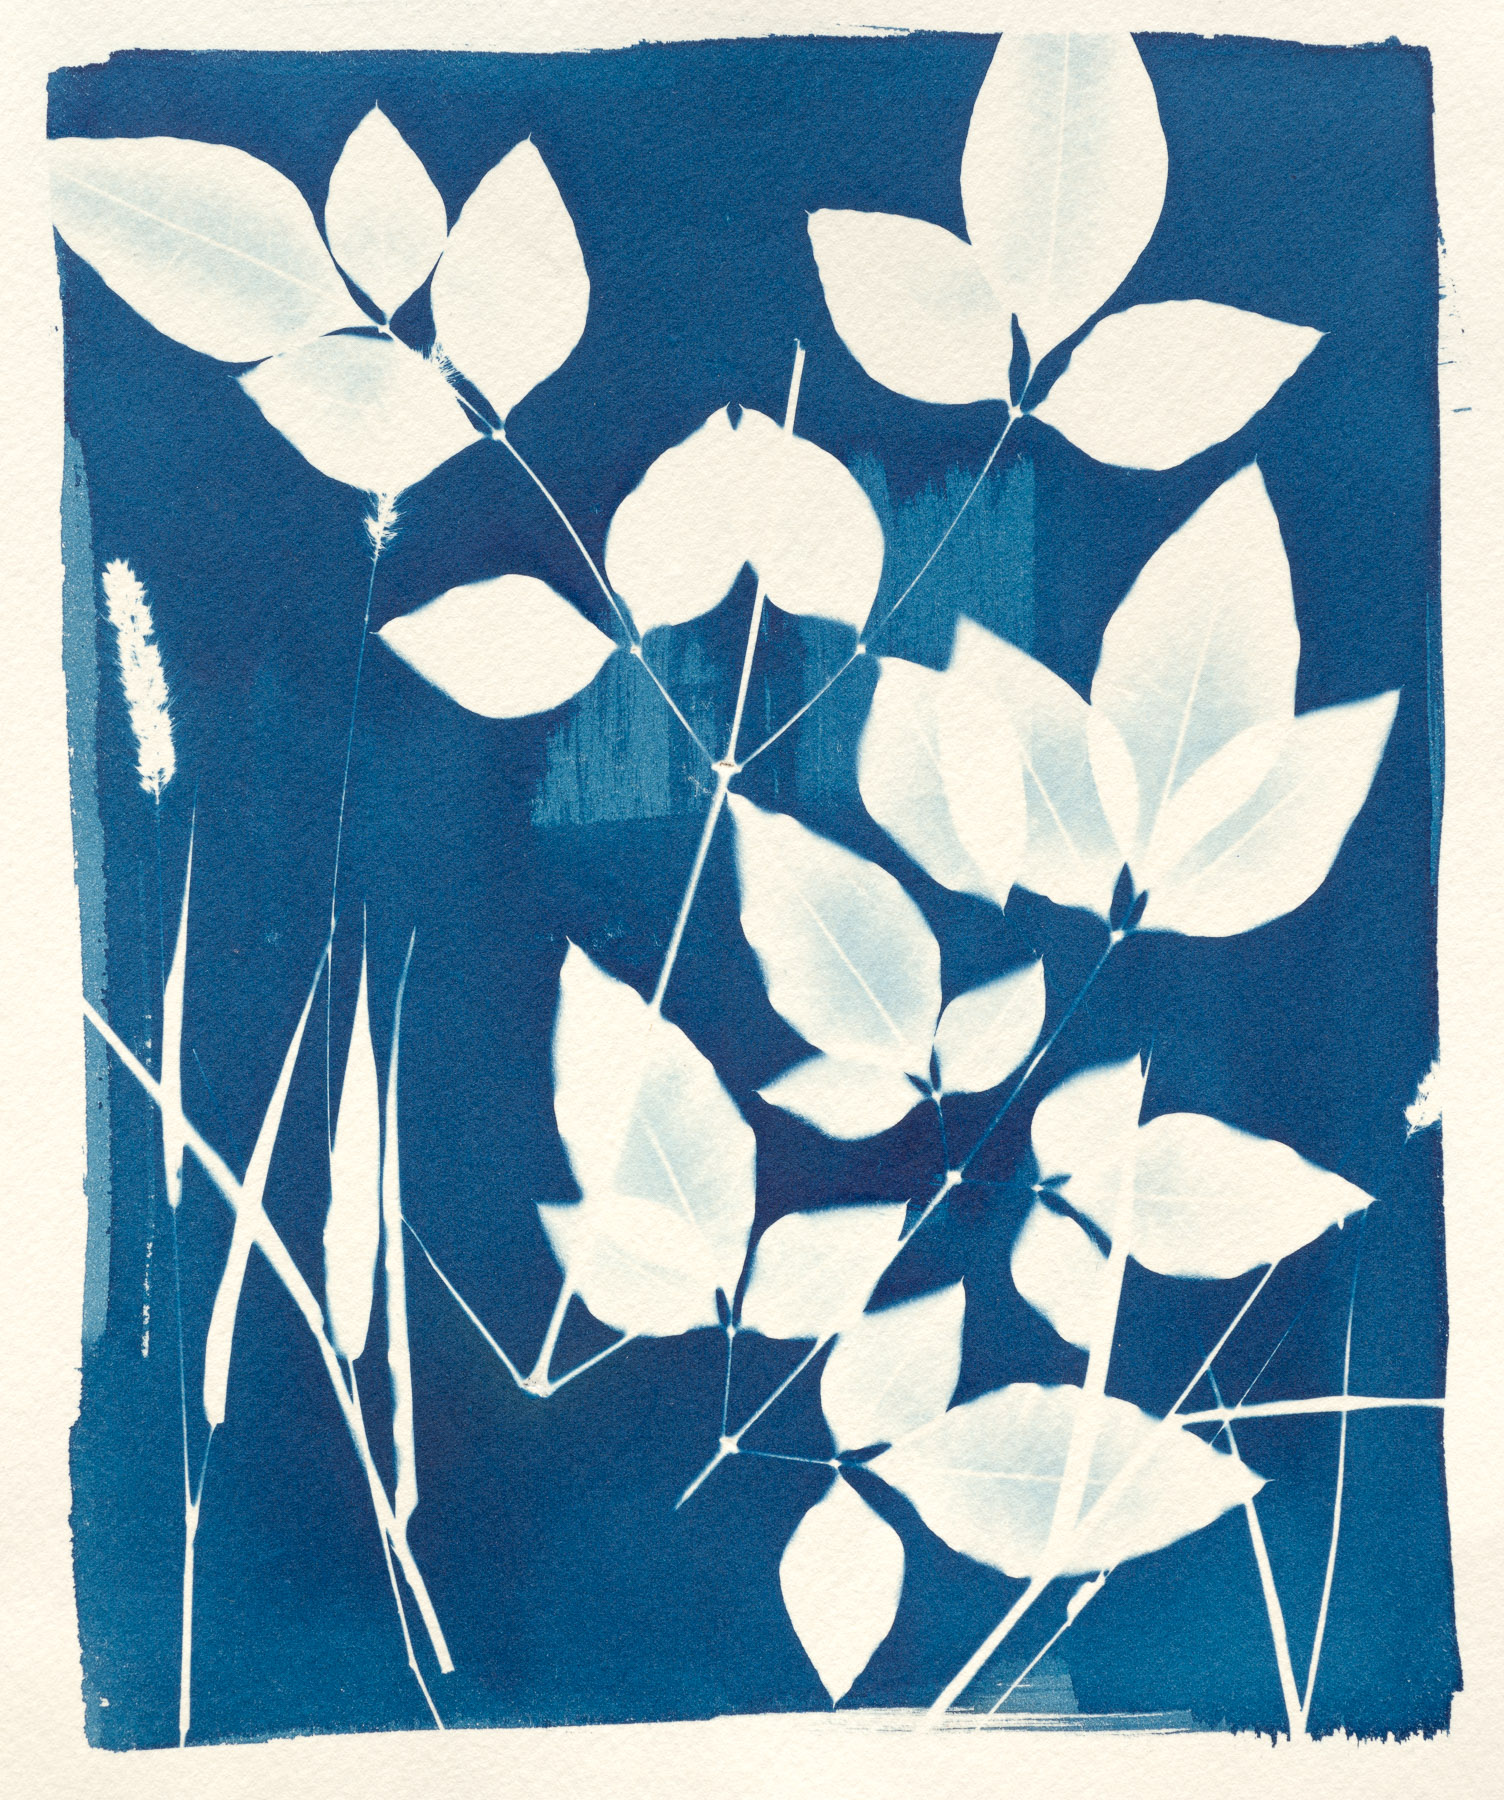
These are simple photographs called photograms that are made without the use of a camera, instead objects are put directly on the sensitized paper and exposed with sunlight. A photogram is one of the simplest forms of photography but it can be challenging to make it look the way you want.
フォトグラムと言われるこの写真は、カメラを使わずに対象物を感作した用紙に直接置き、太陽の光で露光させるという技法を使っています。フォトグラムは最もシンプルな技法と言われいますが、望みどおりの結果を出すことは、なかなかの挑戦です。


Stock Solutions
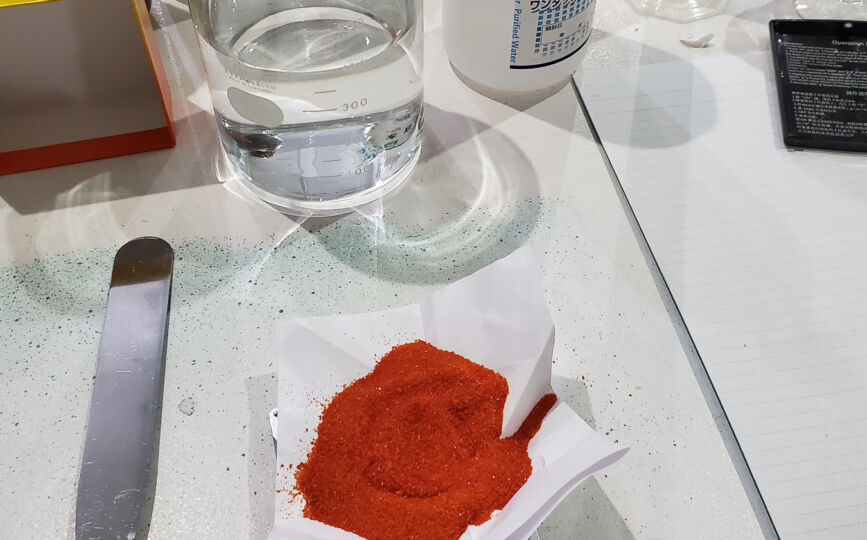
- Potassium ferricyanide (III)
- Ammonium iron citrate (green) (III)
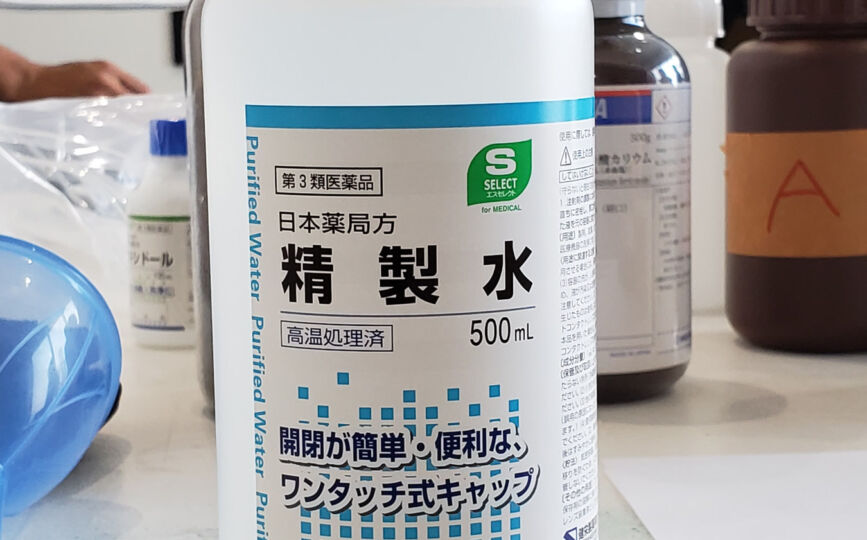
- Distilled water
- 2 containers, 500 ml each
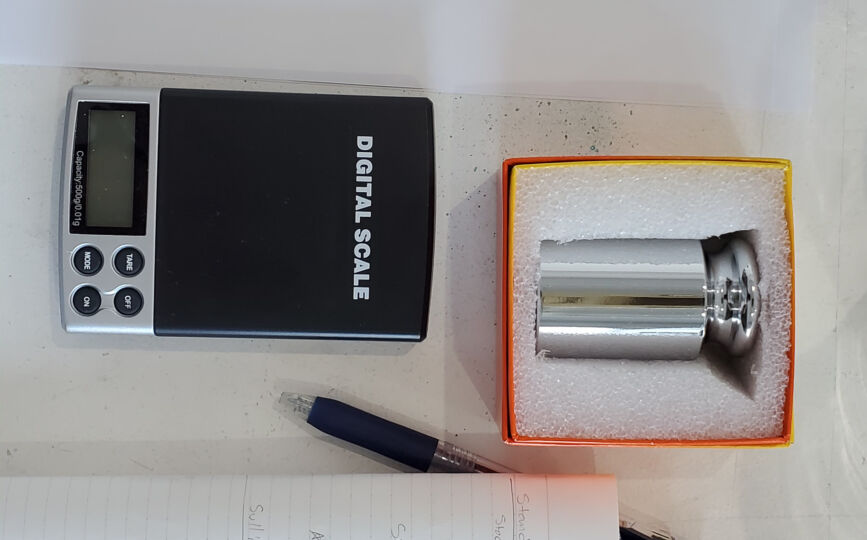
- scale 0.01 g precision
- graduated cylinder, beakers
- A4 recycled paper for holding chemicals on scale
Exposing
- Sized watercolour paper
- Contact printing frame or glass and wood backing with clamps
Developing
- Trays for holding water and paper
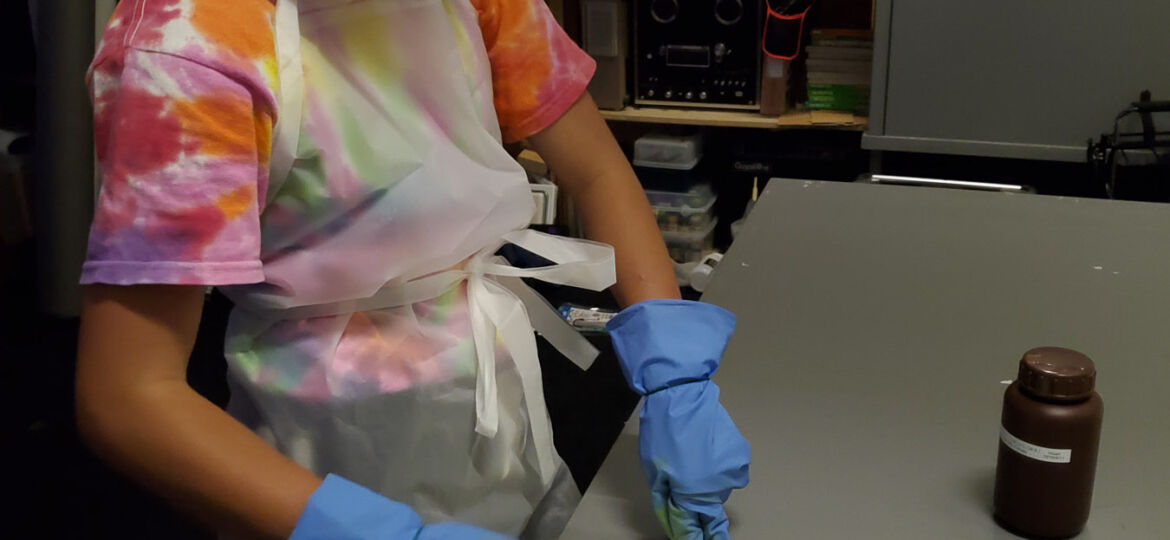
- rubber gloves

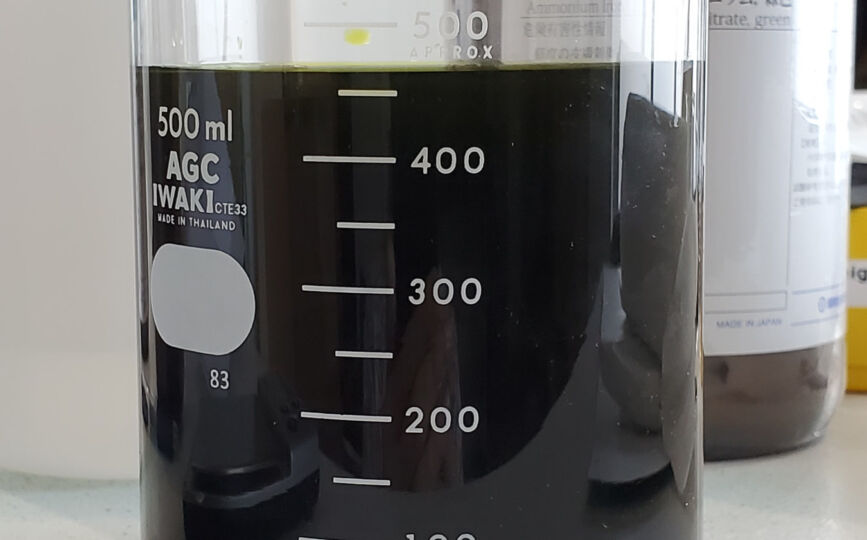

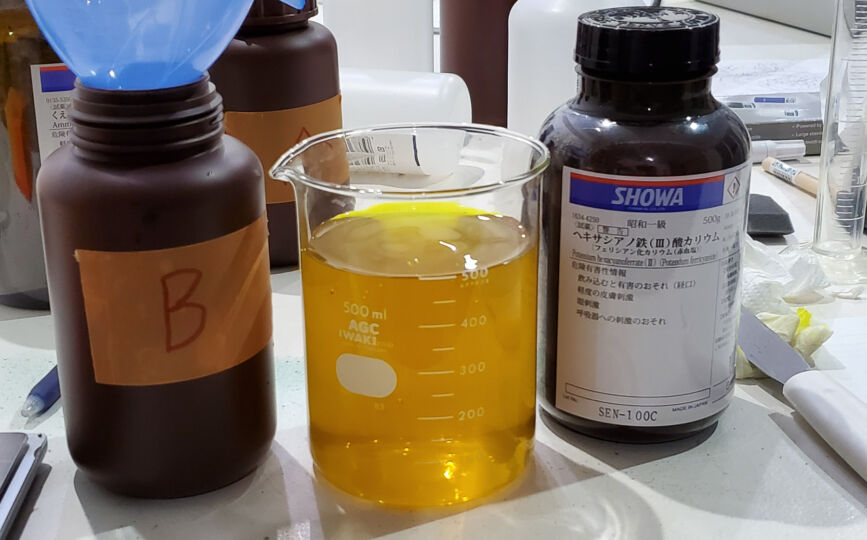
Solution A (Postassium Ferricyanide)
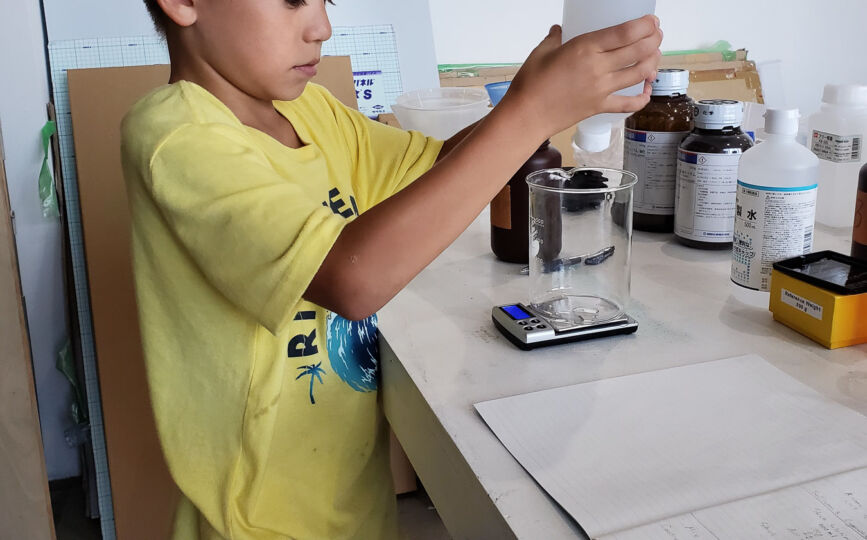
- Pour about 400 ml distilled water into beaker.
- Weigh 100 g of postassium ferricyanide powder
- Slowly add to water while mixing.
- Add water to make 500 ml
- Store in darkened and labelled container.
Solution B (Ammonium iron citrate)
- Pour about 400 ml distilled water into beaker.
- Weigh 40 g of postassium ferricyanide powder
- Slowly add to water while mixing.
- Add water to make 500 ml
- Store in darkened and labelled container.
To coat one A4 sheet use about 12 ml
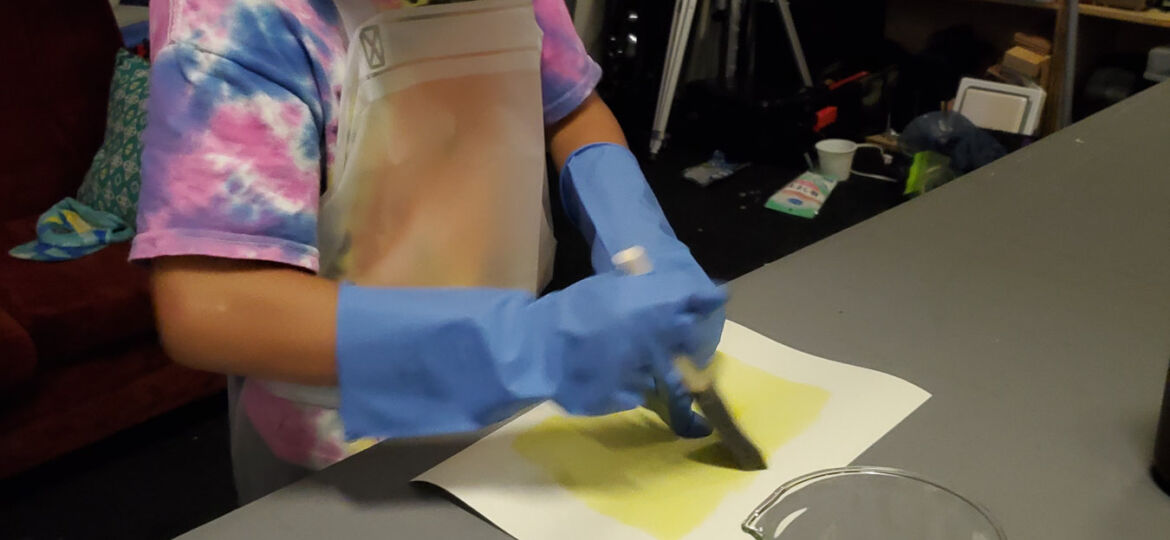
In a dim room with no UV light:
- Draw faint borders with an HB pencil for the area to coat.
- Mix equal parts of solutions A and B (6 ml each)
- Pour into short and wide container for brushing on.
- Or pour 12 ml out onto centre of paper.
- Brush evenly and carefully to edges of border drawn on your paper.
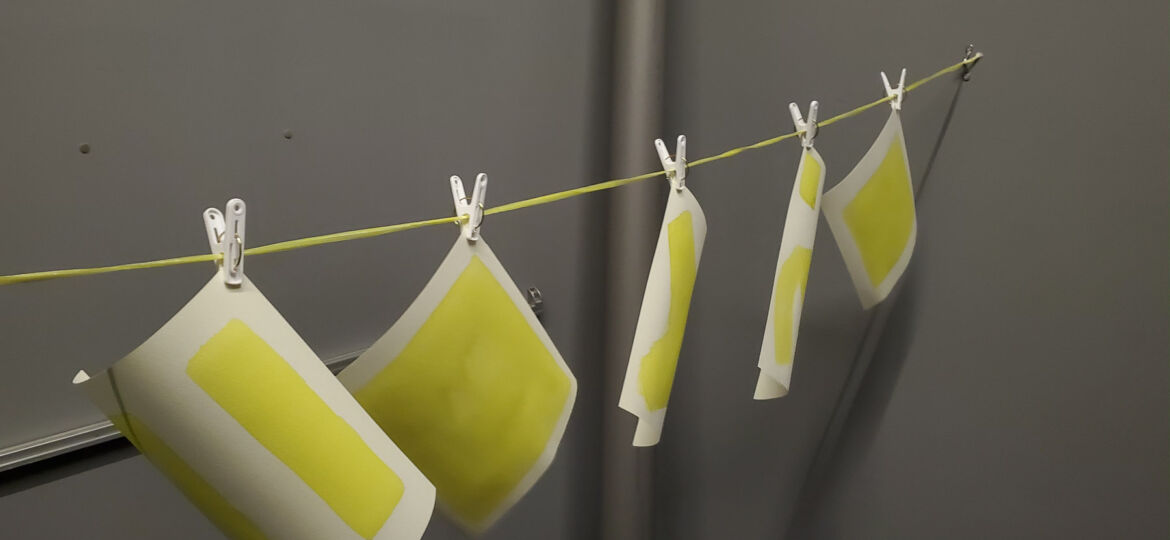
- Dry slowly for 30–90 minutes in near darkness. Make sure there is no UV light, for example LEDs emit weak UV.


EXPOSING
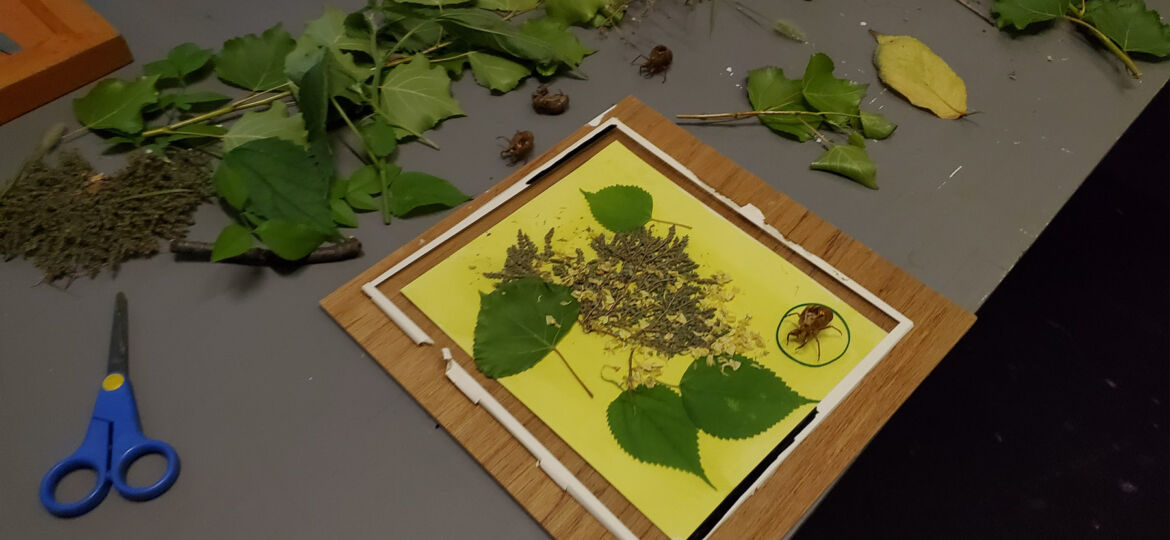
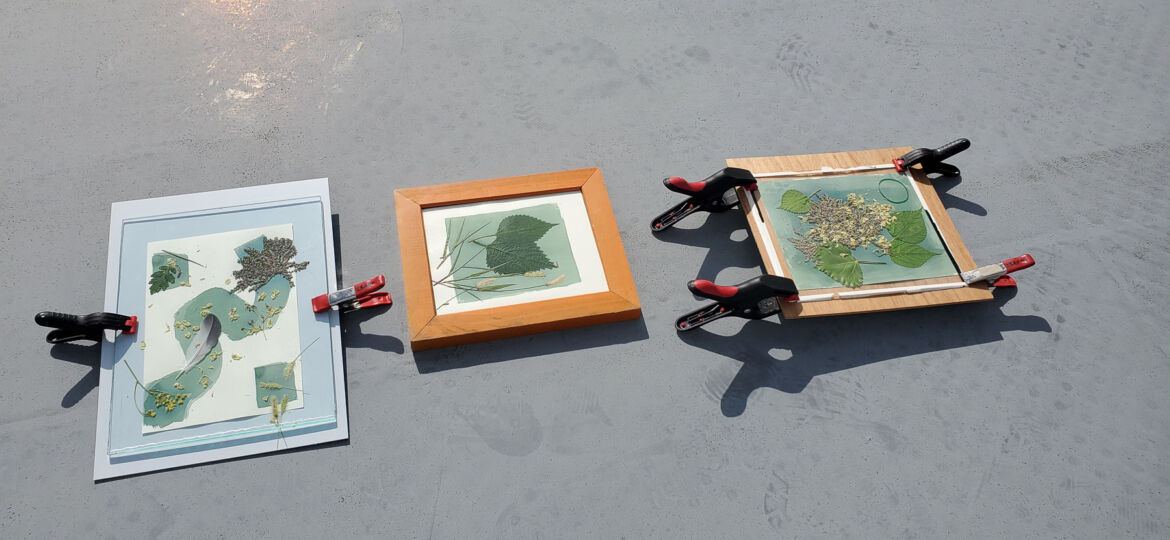
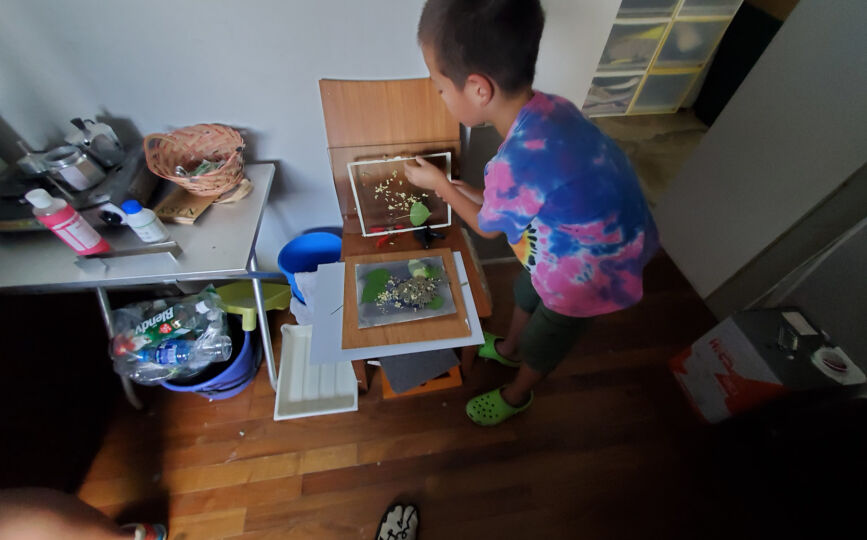
- Create your artwork by placing objects into your contact print frame
- Clamp the glass carefully onto the paper, make sure everything is holding steady and the paper is as flat against the glass as possible.
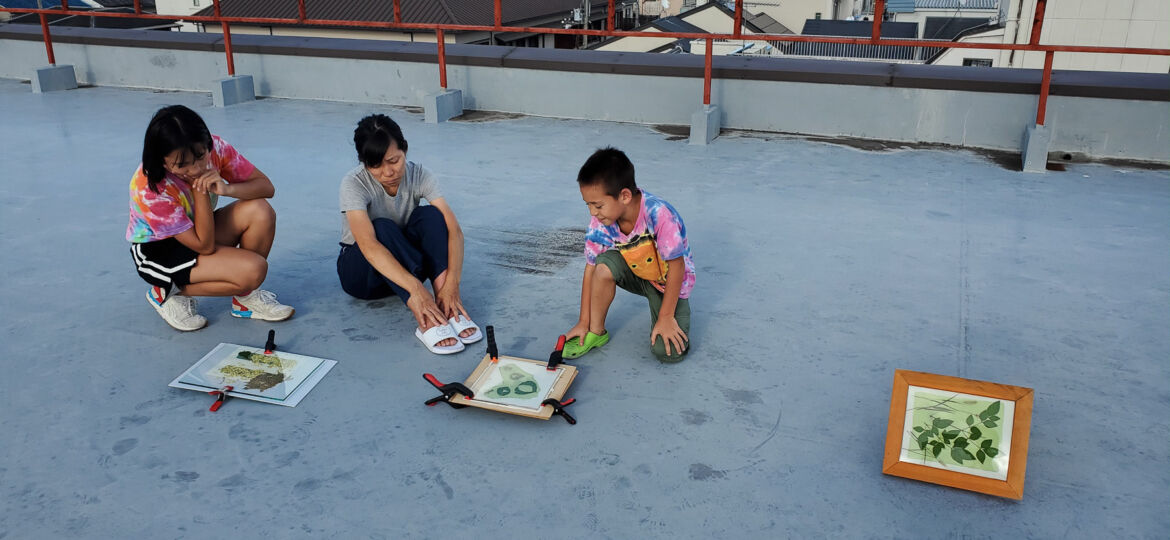
- Take the frame outdoors into bright sunlight.
Exposure estimates for summer in Kyoto (35º North)
- Clear and sunny summer: 5–10 minutes depending on thickness of glass
- To expose through leaves, increase time to 30–45 minutes
- On an overcast day or late afternoon, try 45+ minutes for the basic exposure.
露光準備
- 額などに露光したい対象物を配置する。額を使わない場合は、木のボードなどを使う。
- ガラスを上方から慎重に固定し、紙がガラスに対してできるだけ平らになっていることを確認する。立体の対象物などの場合はガラスは使わずにそのまま配置。露光を始めた後は、対象物が動かないようにする。
- 屋外に持ち出し、明るい日差しで露光させる。
京都(北緯35度)の夏の露光量の目安
- 晴天の初夏や夏:ガラスの厚さによって異なるが、5~10分
- 例えば葉脈を表現したい場合は、30~45分程度に時間を延長する
- 曇りの日や昼下がりは、基本的に45分以上の露光を試してみる
- 目安は元々黄色だった紙面が「オリーブ色」に変わったら露光は完了


Developing
- In clean water, rinse the print for 2–5 minutes
- Change the water in the tray and wash another 5-10 minutes
- Change water for a final rinse. If no more blue is coming out, dry the print.
現像
- 適当な大きさのトレイを用意し、きれいな水で、プリントを2~5分ほどすすぐ
- トレイの水を交換し、さらに5~10分間洗浄する
- 水を変えて最後にすすぎ、青色が出なくなったら、プリントを干して乾燥させる
- この薬品は安全なので、子どもが触ったり、シンクなどから排水しても問題がない